Release
This is a Beta Release intended for experienced users and collaborators. Model configurations and related source code described on this page may change during the release process.
 ACCESS-AM3 configs docs
 Release notes
Run ACCESS-AM3
About
The instructions below outline how to run ACCESS-AM3 using ACCESS-NRI's software deployment pipeline, specifically designed to run on the NCI supercomputer Gadi.
If you are unsure whether ACCESS-AM3 is the right choice for your experiment, see the overview of ACCESS Models.
ACCESS-AM3 configurations are licensed under the UKMO's Momentum licence and are distributed to the community through private GitHub repositories. See the Request access section for details.
ACCESS-AM3 release notes are available on the ACCESS-Hive Forum and are updated with each new release.
Prerequisites
-
NCI account
Before running an ACCESS model, you need to set up your NCI account. -
GitHub account
Open an account on GitHub if you do not have one. -
Request access to the configurations
To request access to the configurations repository and associated model component repositories, contact us through this post on the ACCESS-Hive Forum. We can also guide you through the licensing process required to use the model.Warning
This process can take up to 2 weeks.
-
Join NCI projects
Request membership to the following NCI projects through their respective project pages:
- access: : ACCESS software sharing
- vk83: ACCESS Models
-
xp65: ACCESS Analysis Environments
-
hr22: Cylc Rose Workflow Engine
For more information on joining specific NCI projects, refer to How to connect to a project.
Terminology
Understand the difference between configuration and experiment
Configuration and experiment definitions
The terms configuration and experiment used in this documentation are closely related, but not interchangeable.
A configuration defines a specific way of running a model. It is defined by the:
- model version and build (model executable(s));
- set of input files (ancillaries, forcings, restarts); and
- physical and modelling options for each model component, including namelists, configuration files and MPI layout.
Changing any one of these elements creates a new configuration.
An experiment is a realisation of a configuration: a sequence of runs that generates model data over a period of model time.
Rose/Cylc workflow manager
Warning
ACCESS-AM3 is transitioning from a Cylc7 to a Cylc8 workflow and currently runs in Cylc8 compatibility mode, allowing the configuration to run with either version while users become familiar with Cylc8. Instructions are provided for Cylc8 only, as users are encouraged to adopt Cylc8 while Cylc7 is phased out.
The Rose/Cylc workflow management tool consists of two components:
- The Cylc (pronounced ‘silk’) task engine, developed by NIWA, is a workflow manager that automatically executes tasks according to a model configuration and monitors them for errors.
- The Rose framework developed by the UKMO which configures tasks for the Cylc engine. Rose is a toolkit that can be used to view, edit and run some of the ACCESS models.
A set of tasks configured by Rose to run with the Cylc8 engine is called a workflow in Cylc8. For coherence with other workflow managers used to run some ACCESS models, we refer to these workflows as configurations.
Cylc and Rose concepts
A Cylc configuration defines individual tasks and their relationships, forming a task graph. Each task has a name, and Cylc uses the graph to execute tasks at the correct time and in the correct order. Repetition sequences can also be defined for all or part of a graph. ACCESS-AM3 uses this feature to manage simulations that are too long to run in a single PBS script.
A task is the abstract representation of a component of the configuration, while a job is the concrete execution of a task. A task can submit multiple jobs, for example, if a job fails and the task is rerun.
Cylc supports several installations of the same configuration. By default, these will be installed in numbered directories (run1, run2, etc.), a custom name can be provided as an option. Cylc provides a symbolic link to the latest installation named runN. This can be useful when developing an experiment and testing incremental changes.
Cylc tasks can use any language or command. Tasks configured by Rose are called app following the Rose terminology.
Rose/Cylc directory and files organisation
Rose/Cylc directory and files organisation
The Cylc data organisation separates the smaller text files that define a configuration from the larger binary files used as experiment inputs and outputs.
This allows configuration definitions to be tracked with Git, making them easy to back up and share, while optimising the use of different filesystems on high-performance computers. It also allows multiple experiments to share common executables and input data while running simultaneously.
The following diagram illustrates the Cylc data organisation:

As shown in the diagram, a Cylc-supported model run consists of three main directories:
- Configuration → contains a copy of the configuration as a Git repository. You can use this directory to make and track configuration changes with Git. It is created by the user.
-
Control → contains the model configuration and is the directory from which the model run is started. It contains information used to manage the simulation, including scientific options that define model algorithms and diagnostics. This directory is created by Cylc and contains:
- A copy of all the configuration files
- Model component configuration files defining the physics and internal state used in the simulation.
-
Experiment → contains all data generated by the experiment. It is created and managed by Cylc and contains three subdirectories of particular interest:
log/job/→ contains the job scripts and output and error log files for all the tasks of the experiment.-
share/→ contains the model output and data shared between tasks such as ancillary files.share/data/History_Data/→ contains simulation output files.share/data/History_Data/netCDF/→ contains simulation output post-processed into netCDF format.share/data/etc→ contains subdirectories with symbolic links to ancillary files.
-
work/→ contains the current working directories of running tasks. These are automatically removed when empty after a task finishes.
The
log/,share/andwork/directories for an experiment are most easily accessed through the symbolic links created in the control directory.
Tip
Recommended location for control and experiment directories on Gadi:
- configuration directories - store these under
$HOME/rosesso that Cylc can find them easily. The commands on this page assume the configuration is stored under$HOME/roses. - control directories - these are created under
$HOME/cylc-run. The 10GB$HOMEquota should be sufficient as control directories contain only text files and symbolic links, and typically occupy less than 10MB. - experiment directories - these are created under
/scratch, which is optimised for fast reading and writing of large data, and provides adequate space for model output.
Warning
Files on /scratch, such as the experiment directory, may be deleted after a period of inactivity. Move any experiments you want to keep to /g/data/.
Configuration files in the control directory
All ACCESS-AM3 configurations use a similar file and directory structure to define the tasks that make up the configuration. The most important files and directories are:
rose-suite.conf→ contains user-defined configuration options at runtime.suite.rc→ defines the tasks and task graph.site/nci_gadi.rc→ contains NCI-specific configuration, including the initial restart file that defines the initial conditions.bin→ contains scripts used by some tasks.app→ contains the definitions of the Rose apps used by some tasks.
Output and restart files organisation
The UM model outputs diagnostic data in binary format, with the raw output stored under share/data/History_Data/ in the control directory. The experiment post-processes the data into netCDF format, which is stored under share/data/History_Data/netCDF/.
The UM model restart file is share/data/<short-name>a.astart, where <short-name> is a shortened version of the experiment name.
Error and output log files
The log files are located under the log/ and work/ directories that can be accessed from the control directory.
-
Task logs under
log/jobAll tasks are run via job scripts, whether locally or as PBS jobs. The job script and its output and error logs can be found in directories following the pattern:
log/job/<timestamp>/<task_name>/<run_attempt>where:
<timestamp>is the cycle point.<task_name>is the name of the task.<run_attempt>is the job's run attempt, withNNsymlinked to the latest attempt.
For example, the error log of the housekeeping task for the latest experiment attempt and simulation period starting at 1999-03-00 is located under:
log/job/19990300T0000Z/housekeeping/NN.After completion of a job, the following files are produced:
job- the script used to run the task.job.out- the job's standard output.job.error- the job's error messages.job-activity.log- the job scheduler's event history.job.status- the job's current status.
These files are the first place to look when diagnosing model issues.
-
Model log files for the UM and reconfiguration
The model log files can be found under
work/<timestamp>/<task_name>/pe_output/where:<timestamp>is the cycle point<task_name>is the name of the task
These logs contain timestep-by-timestep output and are where most model-level errors appear, such as instabilities or failed reads of ancillary files. They can help diagnose model issues.
-
PBS logs
For a given task, the PBS log (sometimes called “PBS out”) is stored in the job.out file described above. It provides PBS-level information such as walltime, memory usage, and exit codes.
Connect to Gadi
You can run Rose/Cylc either from a Gadi login node or via an ARE VDI session.
Connect via Gadi login node
Note
You cannot open the Cylc GUI from the login node to manage your experiment. You need to connect via ARE to open the GUI. You will, however, have access to the Cylc TUI from the login node.
Follow the steps to login to Gadi, making sure to enable X11 forwarding, for example by adding the -Y option to the ssh command. This allows the Rose GUI to be launched on your local machine.
Once you are connected, skip directly to Set up a persistent session.
Connect via ARE VDI Desktop
If you are not familiar with ARE, check out the Getting Started on ARE page.
Tip
The ARE VDI session does not run model tasks directly; it only runs Rose/Cylc, thus, requiring minimal CPI and memory resources. The model tasks are dispatched by Cylc to the compute nodes.
Go to the ARE VDI page and launch a session with the following entries:
-
Walltime (hours) →
2
Amount of hours the ARE VDI session will remain active for. This is only setup time, and does not reflect how long the actual configuration will take to run.Tip
Some model configurations might require a longer setup time. The Walltime included here should be sufficient for most model configurations, but if your ARE session terminates before the model setup is complete, you can start a new ARE VDI session.
-
Queue →
normalbw -
Compute Size →
tiny(1 CPU) -
Project → a project of which you are a member.
The project must have allocated SU. By default, this will be set to your default project$PROJECT. -
Storage →
gdata/hr22+scratch/$PROJECT(minimum)
The storage folders listed above are the minimum required to run Rose/Cylc.
Launch the ARE session and, once it starts, click on Launch VDI Desktop.
Warning
This example is provided for reference only. Please use the resource specifications listed above when starting the ARE VDI session.
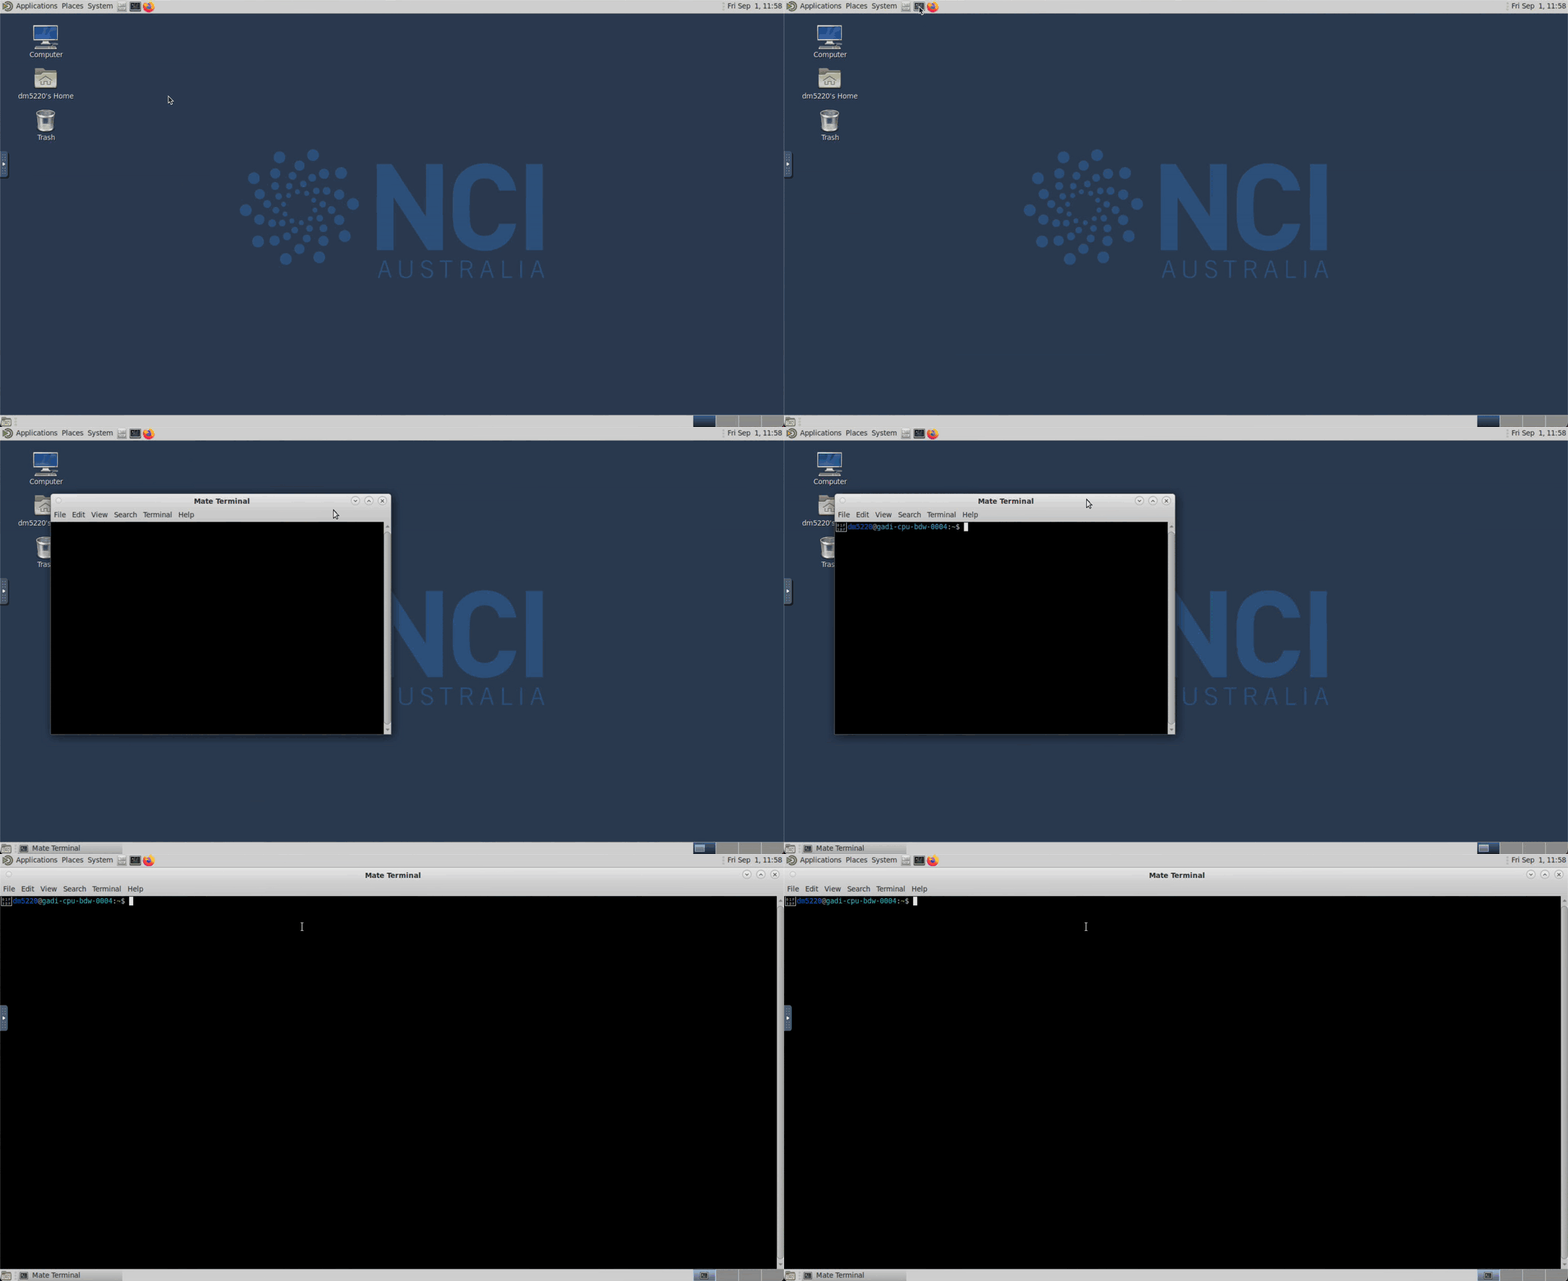
Once the new tab opens, you will see a Desktop with a few folders on the left. Click the terminal icon at the top of the window to open a terminal. You should now be connected to a Gadi computing node. Use this terminal for all subsequent steps in this guide.
Setup your GitHub account
To work with ACCESS-AM3, you need to authenticate your GitHub account from Gadi. You can enter your GitHub credentials each time you interact with GitHub, or configure credential exchange between Gadi and GitHub to avoid repeated authentication.
Several authentication methods are supported and work with ACCESS-AM3. This documentation assumes HTTPS authentication; if you use SSH authentication, adapt the commands accordingly. You can also configure HTTPS authentication alongside existing SSH authentication.
We recommend using the gh command-line interface to authenticate GitHub from Gadi.
Setup GitHub authentication on Gadi with gh
-
Load the
ghmodule on Gadi from in a Gadi or a VDI terminal:module use /g/data/vk83/modules module load gh -
Run
gh auth loginand follow the prompts to authenticate using HTTPS. As Gadi does not have a browser, copy and paste the provided URL into your local browser.gh auth login ? What account do you want to log into? GitHub.com ? What is your preferred protocol for Git operations on this host? HTTPS ? How would you like to authenticate GitHub CLI? Login with a web browser ! First copy your one-time code: XXXX-XXXX Press Enter to open github.com in your browser... ! Failed opening a web browser at https://github.com/login/device exec: "xdg-open,x-www-browser,www-browser,wslview": executable file not found in $PATH Please try entering the URL in your browser manually
Email verification in GitHub for source code modifications
If you plan to modify the ACCESS-AM3 source code, you must have your institutional email address linked to and verified on your GitHub account. Follow GitHub’s instructions to set this up.
Setup a persistent session
NCI provides a service called persistent sessions to enable long running processes, like Cylc, to stay active even when the user disconnects from Gadi.
It is recommended to have only one active persistent session at any given time, as multiple Cylc sessions can use the same persistent session.
Persistent sessions are terminated during NCI's quarterly maintenance and must be restarted afterwards. You can give the new session the same name as the previous one to minimise additional setup.
Start a persistent session
Start a new persistent session
Start a new persistent session by running:
persistent-sessions start -p <project> <name>
where <project> is the project you want to start the session under, and <name> is the name you want to give your persistent session.
Warning
Persistent session names support only a limited character set. Use alphanumeric characters only - no spaces or underscores.
Persistent session names use the following format:
<name>.<$USER>.<project>.ps.gadi.nci.org.au.
Persistent session are also assigned a unique identifier, referred to here as <persistent-session-uuid>.
Tip
If -p <project> is omitted, your default project $PROJECT will be used.
Tip
The project assigned to a persistent session does not need to match the project used to run the ACCESS model configuration. A single persistent session can also run multiple simulations simultaneously.
Tip
When restarting a persistent session after a Gadi outage, such as a quarterly maintenance, reuse the same name as before to avoid additional setup. You do not need to assign the persistent session to Cylc again. Check ~/.persistent-sessions/cylc-session to confirm the name and reuse it.
Assign the persistent session to Cylc (once only)
Assign the persistent session to Cylc (once only)
Once the persistent session is running, assign it to Cylc by inserting its label into ~/.persistent-sessions/cylc-session. Run the following command, replacing <name> and <project> with the values used to create the persistent session.
cat > ~/.persistent-sessions/cylc-session <<< "<name>.${USER}.<project>.ps.gadi.nci.org.au"
You can check that this worked with:
cat ~/.persistent-sessions/cylc-session
For example, if user abc123 starts a persistent session named ForCylc under the project tm70, the command is:
For more information on how to assign the persistent session, refer to Specify Target Session for Cylc8.
Setup the connection between Cylc and Gadi (once only)
Setup connection between Gadi and Cylc
Tip
Although this step is only required the first time you use Cylc, you can repeat it at any time without adverse effects if you are unsure whether your setup is correct.
For security reasons, communication between Gadi and the persistent session is restricted. Before using Cylc, you need to create a dedicated SSH key by running the following command:
/g/data/hr22/bin/gadi-cylc-setup-ps -y
A successful completion should print out:
+------------------------------------------------------------------------------+
| RESULT: PASSED                                                               |
+------------------------------------------------------------------------------+
List active persistent sessions
List active persistent sessions
After a period of inactivity, you may need to check whether your Cylc persistent session is still active. To list your active persistent sessions, use:
persistent-sessions list
Terminate a persistent session
Terminate a persistent session
To end a specific session, use:
persistent-sessions kill <persistent-session-uuid>
Tip
Logging out of a Gadi login node or an ARE VDI terminal instance will not affect your persistent session.
Warning
When you terminate a persistent session, any model running in that session will stop. Before terminating a session, check whether you have any active model runs.
Access Rose/Cylc
Make the rose and cylc executables available by loading the Cylc module:
module use /g/data/hr22/modulefiles
module load cylc/8.6.3
Get ACCESS-AM3 configuration
All released ACCESS-AM3 configurations are available in the ACCESS-AM3 configs GitHub repository: https://github.com/ACCESS-NRI/access-am3-configs
Supported configurations:
| Configuration | Branch name |
|---|---|
| Low resolution based on GC9 configuration | release-n96e |
| High resolution with climatological aerosols | release-n512e-aeroclim |
To get a local copy of the configuration of your choice, clone the GitHub branch with:
git -C ~/roses clone https://github.com/ACCESS-NRI/access-am3-configs -b <branch> <experiment_name>
where:
<branch>is the name of the branch of the configuration you want to base your work on.<experiment_name>is the name of your local copy of the configuration, i.e., your configuration directory. Cylc also uses it for the control directory path.
Example: Copying the release-n96e configuration
If you want a copy of the release-n96e configuration for ACCESS-AM3 in your ~/roses/ directory, in a Gadi terminal, you would run the command:
git -C ~/roses clone https://github.com/ACCESS-NRI/access-am3-configs -b release-n96e my-am3-expt
This will create the directory ~/roses/my-am3-expt that will contain a copy of the latest release-n96e configuration. It is recommended to choose a descriptive name for the <experiment_name> unlike in this example.
Initial Configuration Setup
The configuration is set up to use your default project for data storage and compute resources. To use a different project, open rose-suite.conf in the configuration directory and change:
STORAGE_PROJECT→ specifies the project to use for storage. Experiment files will be stored under/scratch/<STORAGE_PROJECT>/$USER/cylc-run. If changing the STORAGE_PROJECT to a different project than your default, please be aware of the additional step at installation explained below.COMPUTE_PROJECT→ specifies the project charged for the compute resources.
For example, if you want to use the rp23 project for storage and compute:
STORAGE_PROJECT='rp23'
COMPUTE_PROJECT='rp23'
Validate the configuration
Validate the configuration
Before running an experiment, validate the configuration to ensure it is compatible with Cylc8. This is especially useful after modifying the configuration, as validation can detect incorrectly formatted inputs. Run:
cylc validate <experiment-name>
Example: validate local copy
To validate a local copy, named my-am3-expt, of the configuration release-n96e:
Run the experiment
ACCESS model configurations run on Gadi through PBS jobs submissions. They often comprise several tasks, such as running the model and post-processing its output. Long experiments are split into smaller periods that run sequentially, with Cylc controling the task sequence and repetitions.
In Cylc8, running a workflow involves two steps. Firstly, install the experiment, then run the workflow:
PROJECT=<storage_project> cylc install <experiment_name>
cylc play <experiment_name>
Warning
Cylc8 will always install the experiment directory under /scratch/$PROJECT/$USER/cylc-run, where $PROJECT is your default project at NCI. To overwrite this, you need to specify PROJECT=<storage_project> when running cylc install.
You need to specify the same project as you have specified for storage in the configuration. If the configuration does not allow you to specify a storage project, you have to use your default project.
Example: Running the experiment my-am3-expt
The below example will install the experiment directory under /scratch/rp23/$USER/cylc-run/ and run the experiment.
Validate, Install and Play in one command cylc vip
Cylc provides compound commands to make routine operations easier. The cylc vip command stands for Validate, Install, Play. It allows to run the workflow in one command:
PROJECT=<storage_project> cylc vip <experiment_name>
Warning
Since this compound command installs the experiment, you need to specify the storage project you want to use if you are not using your default project.
Monitor the experiment
Cylc8 provides three ways to monitor and control experiments:
- Command-line interface (CLI) - allows you to start, stop, query, and control workflows from the command line. Use the built-in Cylc command help for more information on how to use it.
- Terminal user interface (TUI) - a terminal-based graphical interface automatically updated by Cylc, which allows you to view the experiment, task status, job logs, and interact with the experiment workflow.
- Graphical user interface (GUI) - provides several views for examining workflows, including a Cylc scan menu for switching between workflows.
Cylc TUI
To launch the TUI, run cylc tui. It displays all currently running or stopped experiments. Navigate the TUI using the keyboard; available keys are shown at the bottom of the interface.
Cylc GUI
Warning
The Cylc GUI is only available from the ARE VDI Desktop, not from the Gadi login nodes.
To launch the Cylc GUI from an ARE VDI terminal with the Cylc module loaded, run:
cylc gui
You can then navigate between workflows using the list on the left.
Task and Job status
For more information on the symbols and colours used in the TUI and GUI to indicate task and job status, please see the Cylc documentation.
Further Information
See ACCESS-AM3 configuration documentation for more detailed information about ACCESS-AM3 configurations.